Friday, May 30, 2014

Actually, I've already purchased an infrared distance sensor with LM393. They say that it can work between 2 to 80 cm, but haven't tested it yet. I didn't give much attention when I bought it maybe because it was fairly cheap but if I'm not wrong it just warns you with a low digital signal when it senses a reflection from a predetermined distance, that distance can be adjusted with a potentiometer, though.

I think that the Sharp IR sensor which is also sold by Parallax is a better solution in terms of IR technology. Instead of telling only yes or no, it speaks analog and gives a voltage corresponding to the distance of the object. I haven't had any experience with that yet, and I don't know how narrow the IR beam is. For example; will it be able to detect a thin wooden chair leg correctly? We'll see.


Wednesday, May 28, 2014

Now that I've almost come near to finish my hardware part of the robot, I should be focusing on the more enjoyable episode which is programming. I have tried to come up with the concept of a state to make my robot have an idea what it is doing at any given time. Until I add image sensing capabilities, my robot has very simple vision tools, so its obstacle avoidance method will also be simple. Actually, it will only be equipped with ultrasonic distance sensors at the beginning. When it detecs an object ahead it should rotate in place and check if the 'new front' is empty to move forward.

When I power it on, it will begin in [initialize & wait] state until it receives a move command via bluetooth module which puts it in [moving forward] state.

Below, you will find my first and simple state diagram. I will build my software on top of it and the state diagram will surely change and improve over time.


Monday, May 26, 2014

I've been trying to figure out how to arrange and place the modules on the robot. My main principle on this issue is modularity. Everything should be easy to replace, change and upgrade. Especially, after spending so many hours on the main plates, I strongly refrain from drilling or damaging the main plates needlessly. So I ended up putting the boards on a seperate small plate.

Later, I started experimenting with ultrasonic sensors. Much to my surprise, these sensors are really sensitive and precise, almost in the rate of half a centimeter. And there is more, I thought it would be a great idea to have a permanent display on the bot for debugging, displaying the state of the program, etc. Thus, I assembled a 4x20 character display. My code is still in a spagetti state therefore I didn't post it yet. But I will post it when it is ready and beautified.

Here are some pictures of the top plate and mentioned elements on top of it;


Did you notice the drawer handles ;)


Tuesday, May 13, 2014

The mount for ultrasonic distance sensors. It fits so nicely and tight that no screw is required to keep it in the place. Now, at least two more are needed.


Monday, April 21, 2014

​I had hopes that it would not be a challenging work, but it was not as easy as I thought. First things first, I didn't invent this pan/tilt mechanism, the one comes with Pixy is a similar solution. So if there is credit it goes to the project team. I got the inspiration (!) from them.

The old friend HDPE comes to the stage again. Why do I use this stuff for everything, because;

I have it,
It's durable, a little flexible but not brittle,
It's machineable, drillable, sandable and can be filed like soft metals, and can be cut with any small teeth saw.
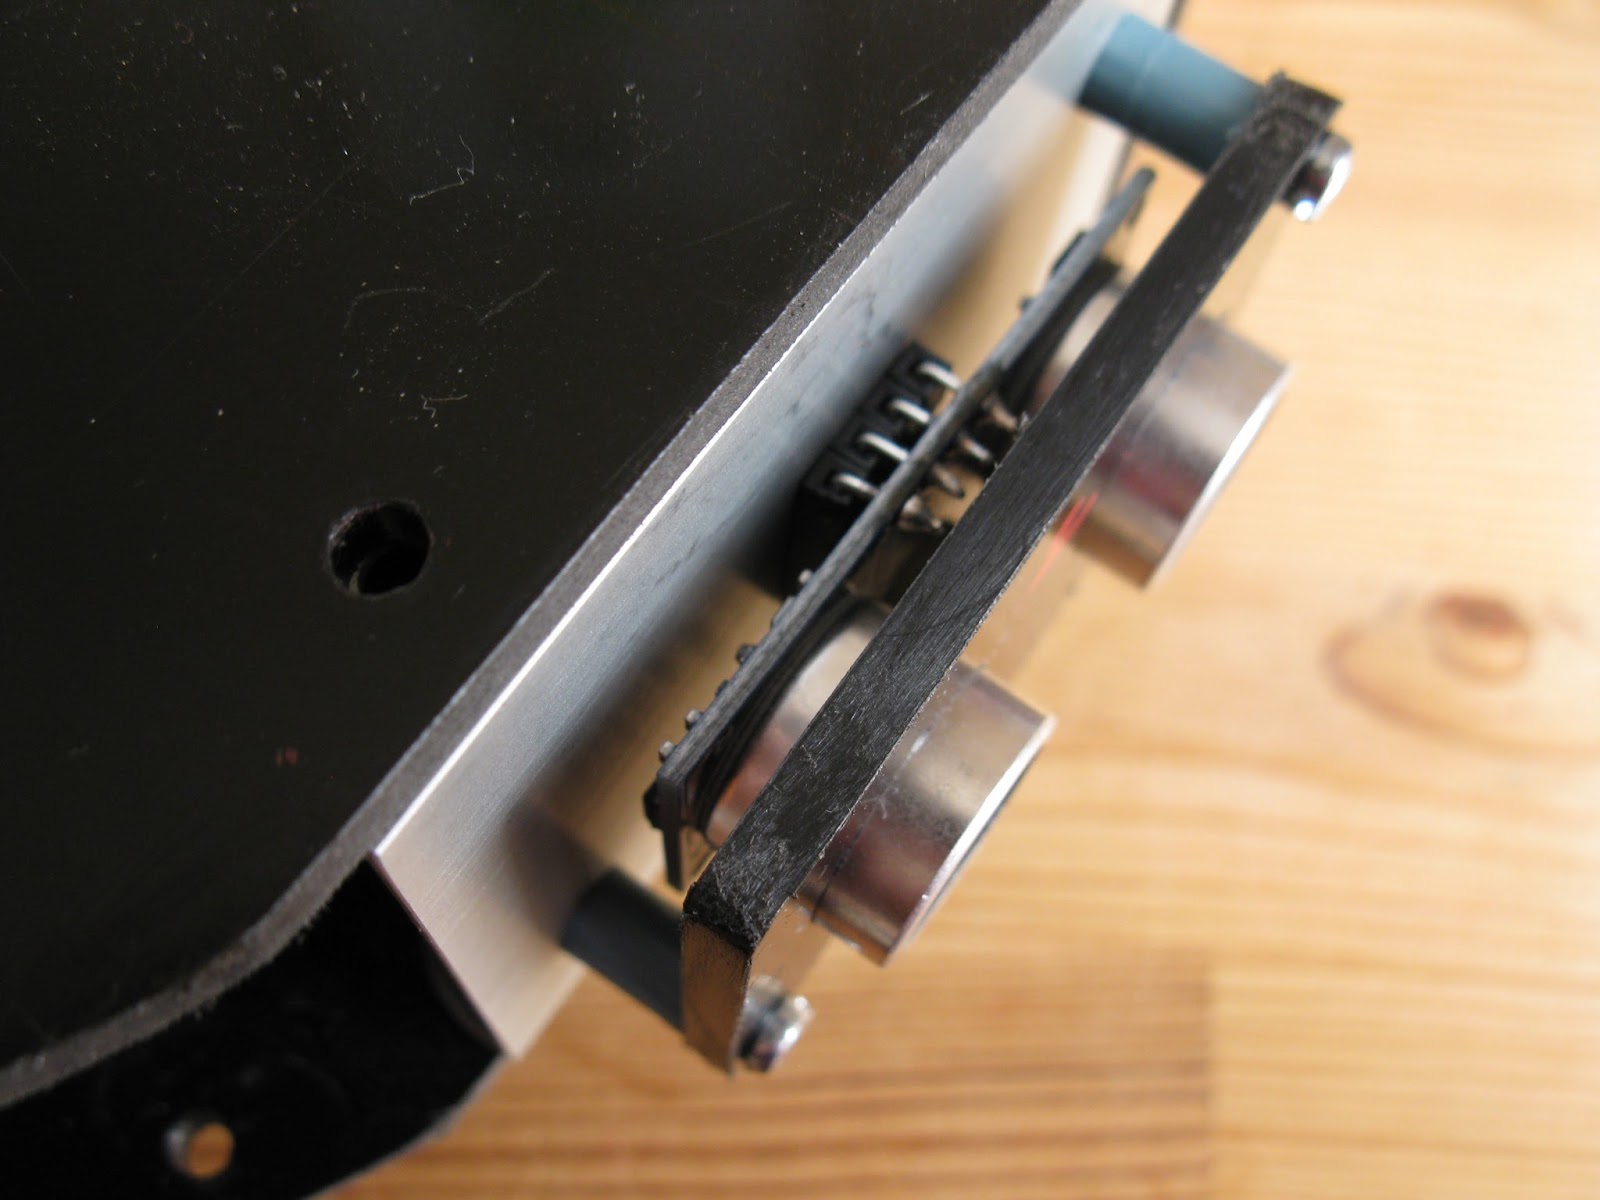
and it looks good. ​​Below are the stages for creating the pan/tilt mechanism. Pan servo is fastened with screws, but tilt servo is kept only with the bracket (painted in black, later) and there is a small trick to keep it in place. I made a small groove on the plate and filed one side of the mount of servo to fit in that groove, so that it doesn't move back and forth.


And, the final product put together,


Sunday, April 6, 2014

After months of waiting, I received my Pixi. I mentioned before, it was one of the Kickstarter projects that I backed. The guys from Charmed Labs and Carnegie Mellon are behind it. It's a vision sensor that can quickly be taught new objects, and it can be connected directly to Arduino. Which suits me nicely because for this project I'm using another Arduino compatible board DigiX. It's also from Kickstarter but another story.

Here are the first pictures of the product, mounting brackets fastened.


It processes images at a frame rate of 50 Hz and support multiple interfaces: UART serial, SPI, I2C, digital out, or analog out. I must say that from my point of view, the result of the project was the best one so far coming from Kickstarter. There was also an optional purposefully built pan/tilt kit but I thought that I could make it by myself by using servos out of the house-stock.

Wednesday, March 12, 2014

I've made the piece that I mentioned in my previous post. It's a simple U shape aluminum to connect the claw to the pan/tilt bracket.


Then, I mounted the claw on a test platform to see how it works. In the video you'll see that a servo tester in automatic mode tilting and opening the claw.

Will this be able to lift up a softdrink can ? Not sure yet, we'll see.


and, here is the video,


Monday, February 3, 2014

It's been a time since my last post. Business and other stuff as expected.
Thank you guys for your comments and feedback.

In the meantime I purchased some parts for my robot. I'm not sure yet how I can make use of them in the end but we'll see.

One of the items that I bought is Sparkfun Robotic Claw MK II with its Pan/Tilt Bracket.
The claw is made from metal and has a spring clutch, I hope it will save the servo from ruining.
The more complex looking claw is surprisingly cheaper than the bracket, but the bracket comes with its servo. Even though it says the bracket is made especially for the claw there is no easy way to put them together. The assembly instructions are really poor and the proposed method doesn't fit my liking so I decide to make a U shape piece as an adapter between to screw them together.

Here you can see the pictures, I just installed the servos;