Read in English
Türkçe Okuyun
I'm tired of my two sons' begging to have a family dog.
It's not that I don't like the idea, it's because we move frequently and some times our home could be an apartment flat which cannot accomodate a pet. And moreover, I know the responsibility will eventually put on my shoulders.
And, a new idea came to my mind. Why don't we make our own pet?
I mean not in the flesh, but rather a pet robot.
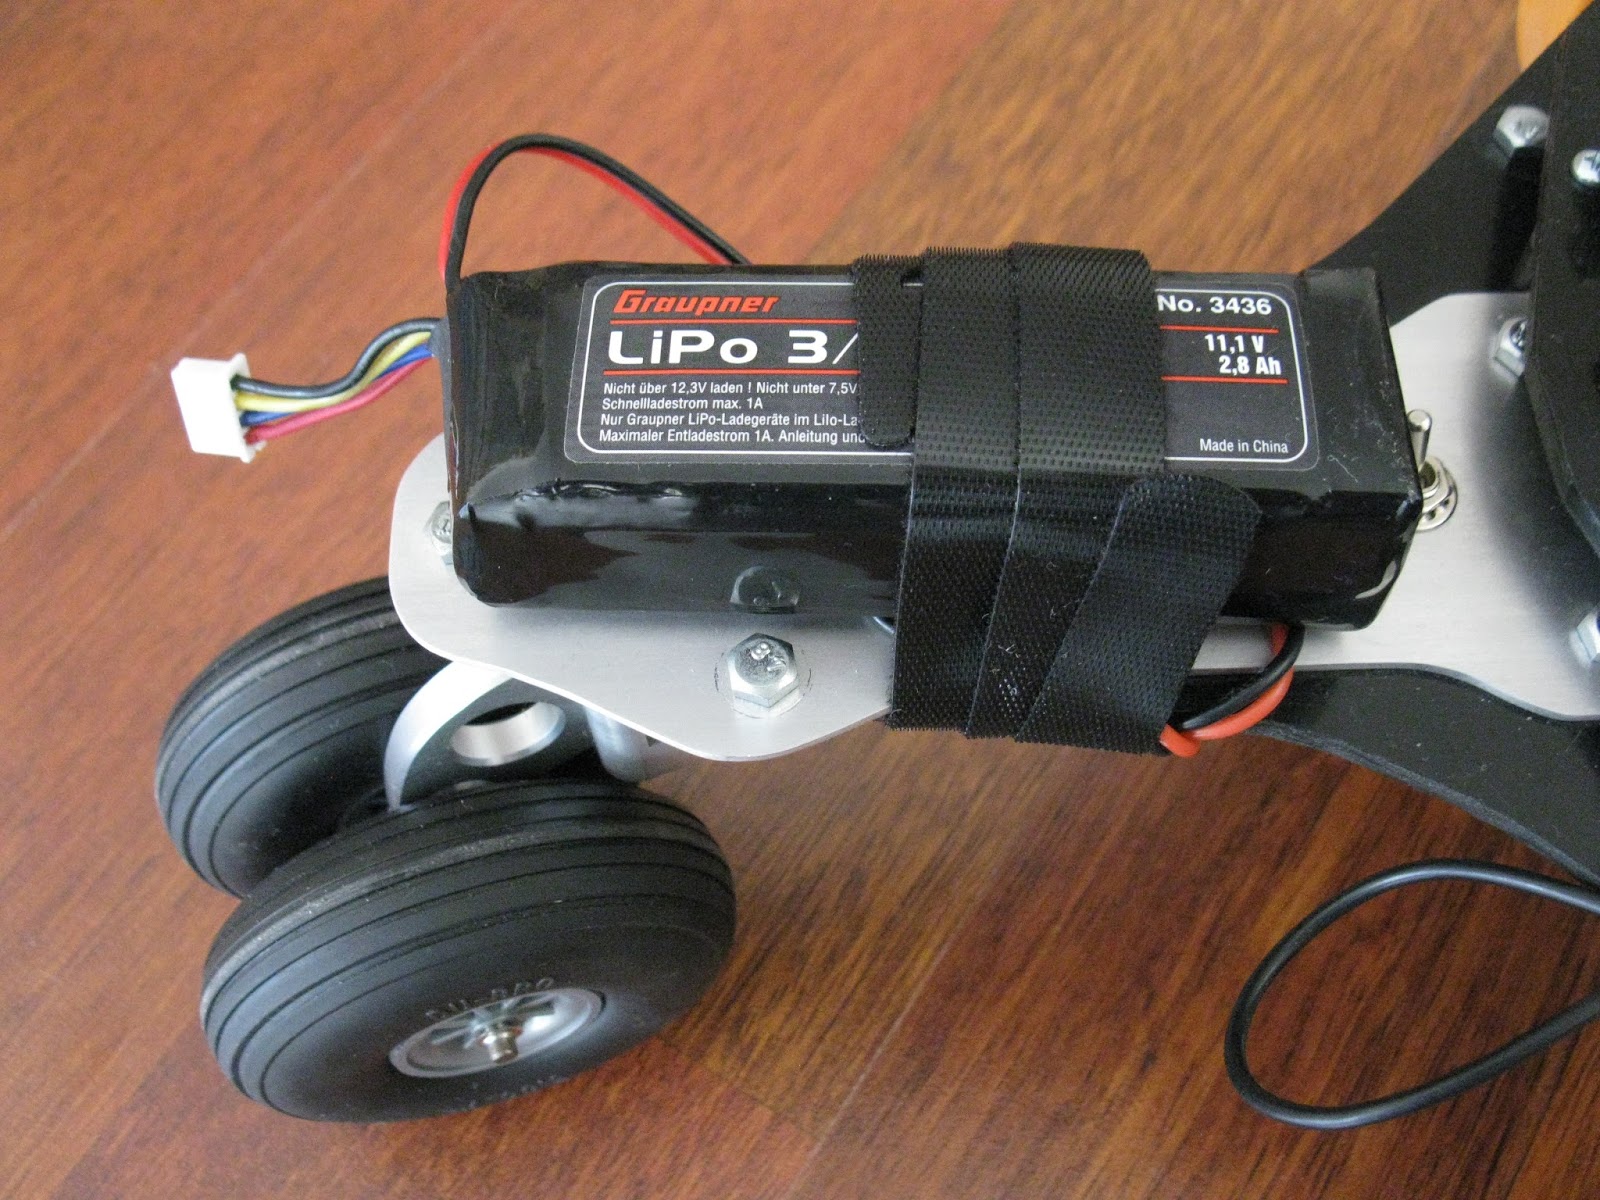
So, I've ordered a few parts.
My robot will look like Stingray but not exatly the same. I am going to use Stingray motors and main wheels. I will make the chassis from black HDPE which is 4 mm thick. The HDPE is a God-send product for hobbyiests. Easy to work with and durable. And, the brain is going to be based on Arduino. In addition to regular ultrasonic sensors, I also plan to use a new cam module which is still alive at this time on Kickstarter. I will put it on a pan tilt servo unit to enable it watch every direction. In a few sentence they describe it as "Pixy is a fast vision sensor you can quickly “teach” to find objects, and it connects directly to Arduino and other controllers."
My initial goals are to have it play in the house, e.g. when I throw a ball I expect him to follow, find and fetch it.
I will post my work as I make progress, because I learned a lot from the online community.
I'm tired of my two sons' begging to have a family dog.
It's not that I don't like the idea, it's because we move frequently and some times our home could be an apartment flat which cannot accomodate a pet. And moreover, I know the responsibility will eventually put on my shoulders.
And, a new idea came to my mind. Why don't we make our own pet?
I mean not in the flesh, but rather a pet robot.
So, I've ordered a few parts.
My robot will look like Stingray but not exatly the same. I am going to use Stingray motors and main wheels. I will make the chassis from black HDPE which is 4 mm thick. The HDPE is a God-send product for hobbyiests. Easy to work with and durable. And, the brain is going to be based on Arduino. In addition to regular ultrasonic sensors, I also plan to use a new cam module which is still alive at this time on Kickstarter. I will put it on a pan tilt servo unit to enable it watch every direction. In a few sentence they describe it as "Pixy is a fast vision sensor you can quickly “teach” to find objects, and it connects directly to Arduino and other controllers."
My initial goals are to have it play in the house, e.g. when I throw a ball I expect him to follow, find and fetch it.
I will post my work as I make progress, because I learned a lot from the online community.