Well, OK.
It's been some time, but I'm back.
During this time I decided to make some changes / improvements to my robot.
First, I've moved from Arduino to Raspberry Pi 3. It's much more powerful with Quad Core 1.2GHz 64bit CPU, and comes with Wifi and Bluetooth, runs Linux, has direct HDMI outputs.
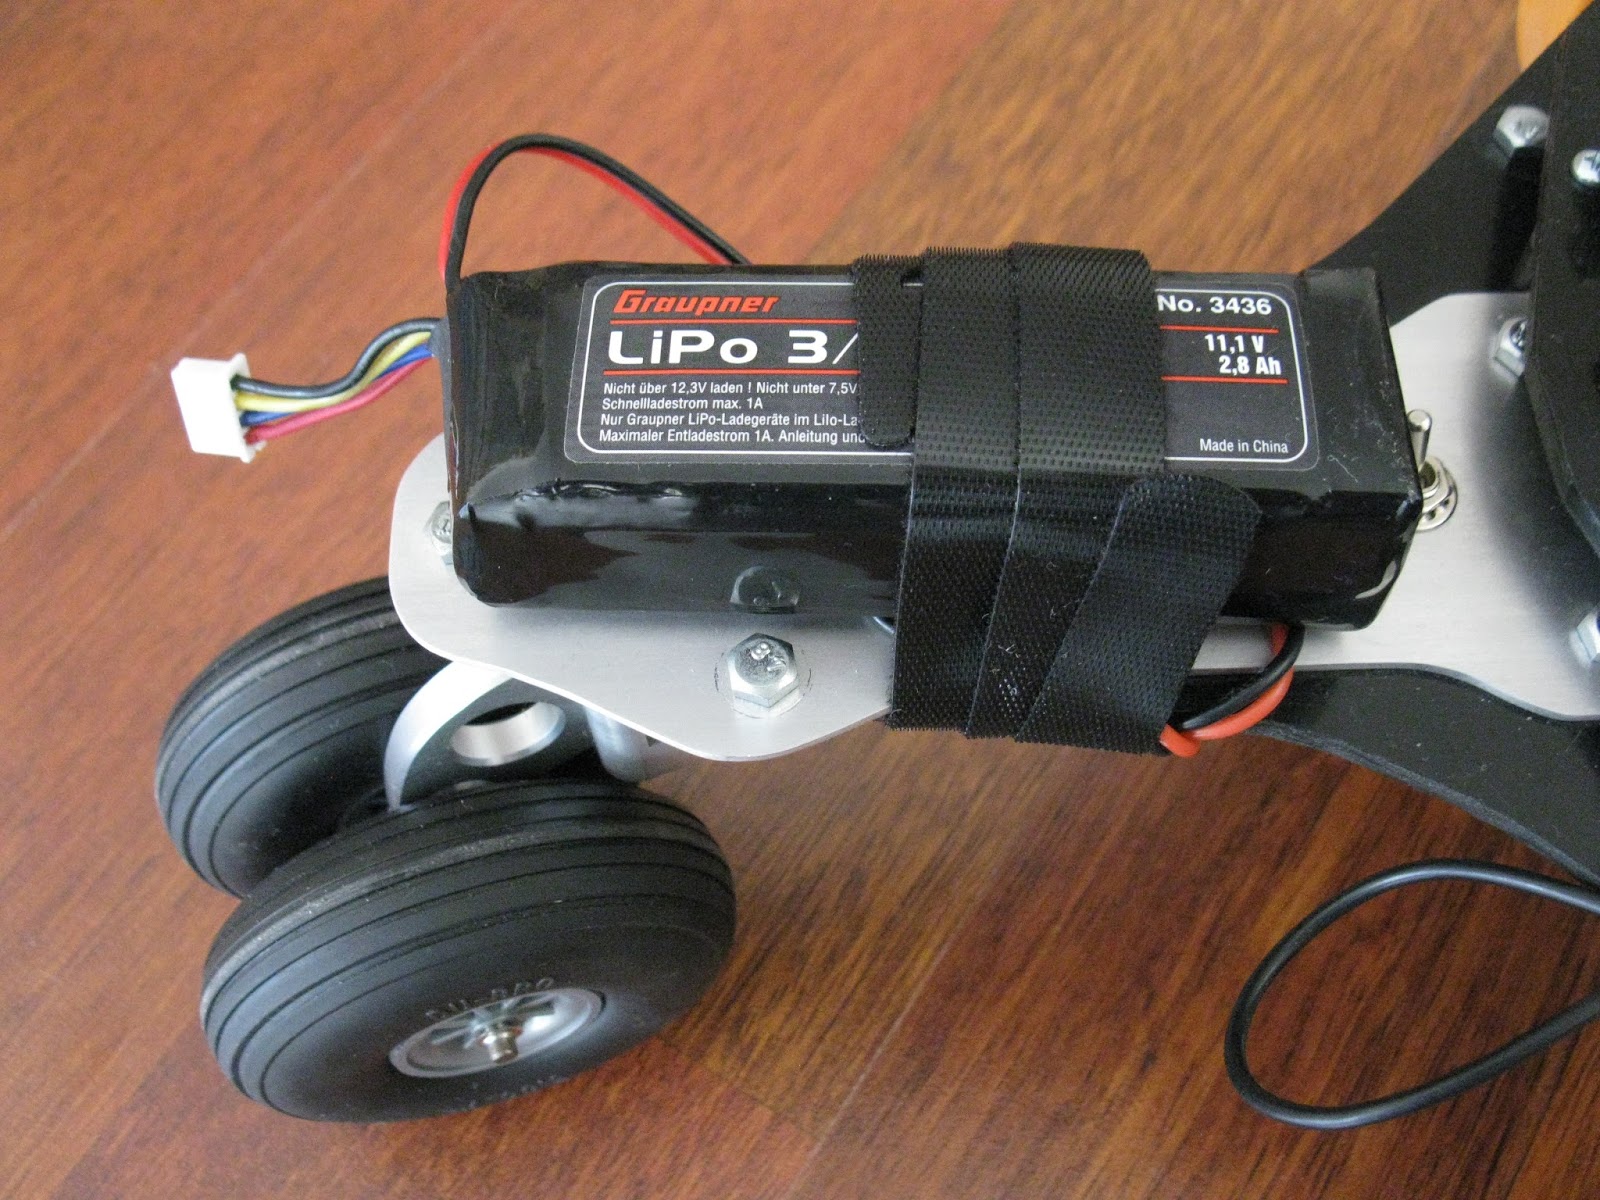
Second, I upgraded my motors with the ones come with encoder units. And also, the motors produce 320 rpm. With my wheels (6 cm radius) the robot can travel as much as 201 cm/sec which is more appropriate in my opinion. As you can see in the below pictures I put a supporting aliminum u profile under the top body panel to eliminate sagging of the body due to the weight.
Third, I bought Pololu Dual MC33926 Motor Driver Carrier that has a wide operating range of 5 – 28 V and can deliver almost 3 A continuously (5 A peak) to each of its two motor channels. I thought that Parallax HB-25 H bridges were overkill with 25 A and took much more space comparing this new tiny pcb.
And lastly, I've changed my IR sensors from analog to digital. They are from Sharp and 5 cm sensitive.
Curious of the black plastic thing above the sensors?
It's plastic tie lock bumper to absorbe any crash force and to keep sensors safe ;)